Crabby Fritters

I’m starting with a picture today. A picture that is obviously not mine. At least I believe it’s obvious. I did take a photo of this crab and pork concoction from I Love Spice when I made it, but it disappeared somehow on me. I remember framing a shot and pressing the camera icon and yet even when I checked my deleted picture folder it was gone.

How I managed to accomplish this remains a mystery.

The patties were a little burnt anyway and I didn’t like my photo of the fritters. My sauce presentation looked almost as good as this pro photo though. I’m sad I don’t have a picture of that, but alas my evidence was burned after eating. You’ll just have to trust me.

What you’ll need

For the Fritters

  • 4 ounces of canned white crab meat, drained
  • 1/2 cup ground pork
  • 2 fresh red chilies, seeded and coarsely chopped
  • 1 teaspoon of salt
  • 2 scallions chopped
  • handful of fresh cilantro, chopped
  • 1 egg white
  • peanut or vegetable oil for frying

For the Sauce

  • 2/3 cup of water
  • 4 tablespoons superfine sugar
  • 1 tablespoon of rice vinegar
  • 1/2 small red onion, very finely diced
  • 2-inch piece cucumber, very finely diced

The first step is to process your meat. I know processed meat is a trigger word and look it’s okay cause it’s processing by being chopped up to bits in a device as opposed to processed with chemicals. Unfortunately I can’t guarantee your actual meat isn’t processed with chemicals, cause that all depends on where you get your meat from, but rest assured you won’t be literally processing the meat with chemicals.

Anyway, we are going to put all the fritter ingredients in the processor until it turns into a coarse paste.

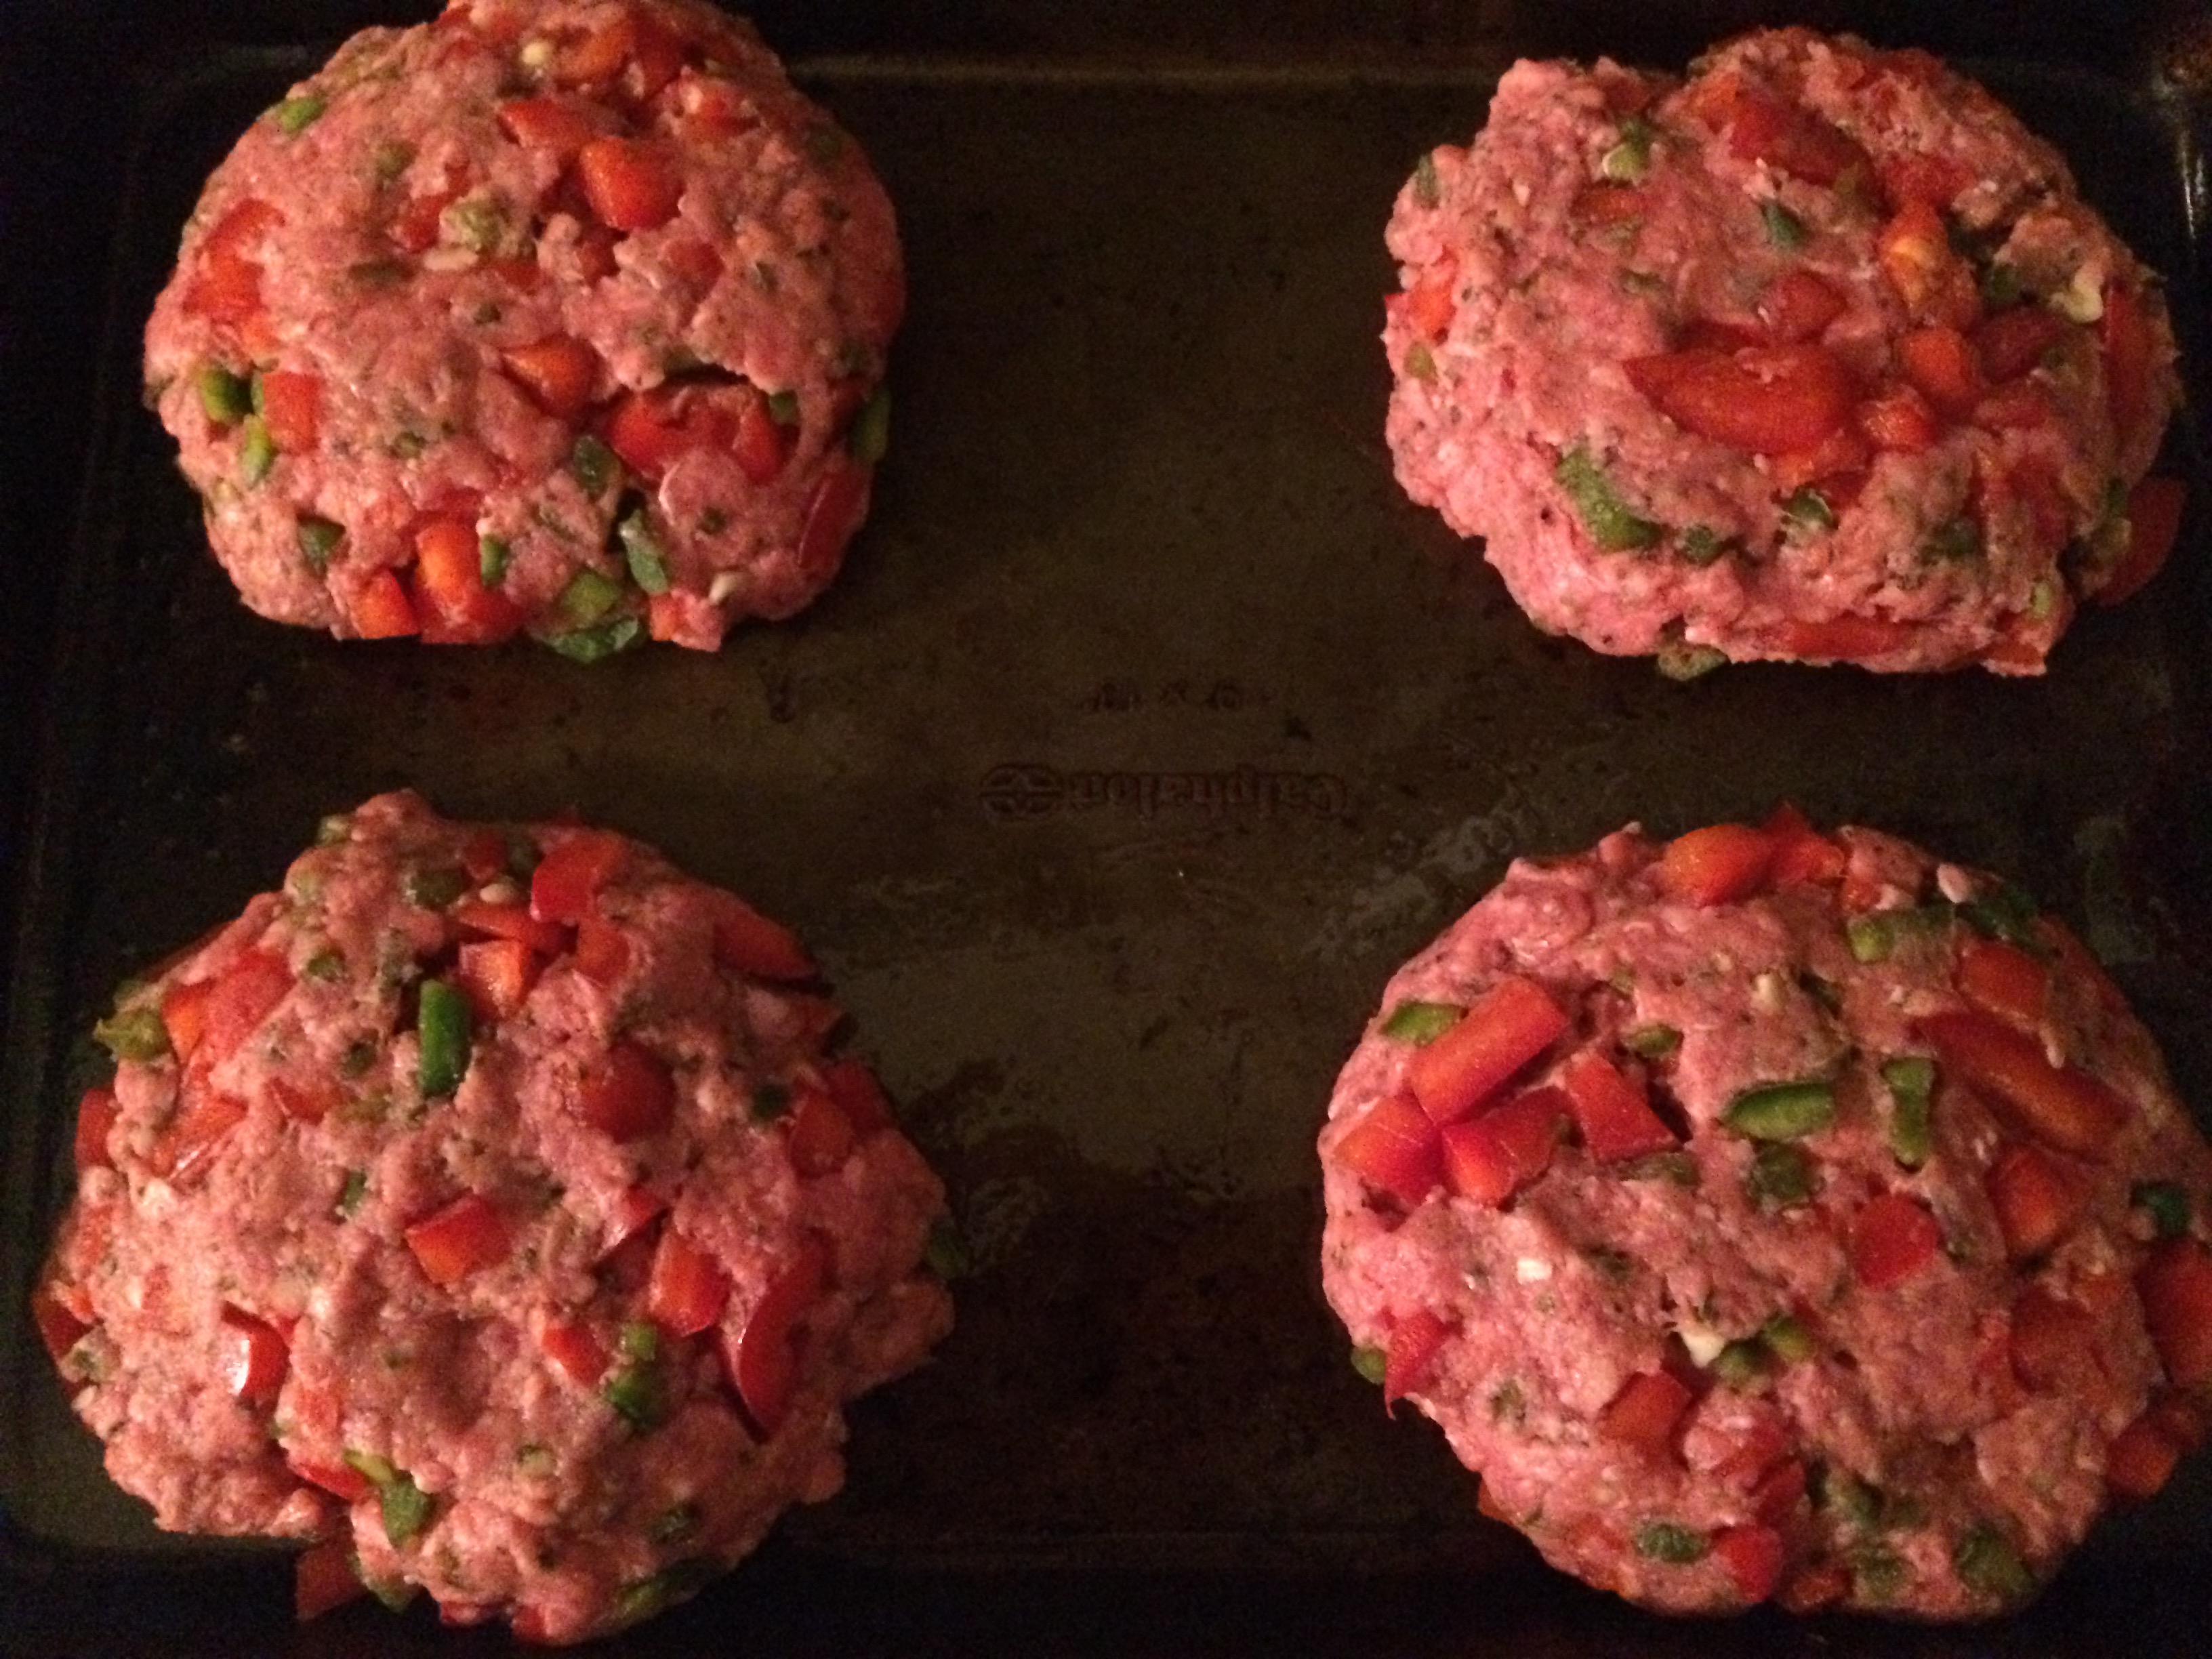
At this point in the recipe I rebelled, but not on purpose. I realize now the recipe said to make 20 small cakes. I just turned them into four burger sized patties. Oops.

However many you want to make, just form them into patties and set aside until you are ready to fry.

Get a skillet out and pour the oil of your choice into the pan til it covers the bottom of the skillet and turn up your heat medium-high.

At this point you probably want to make your sauce, unless you have a sous chef.

All you have to do to make the sauce is put the water, sugar, and vinegar in a small pan and heat gently until the sugar has dissolved. Once this happens add the onion and cucumber and simmer for about five minutes.

While your sauce is simmering, your oil should be hot enough for frying so go ahead and put your fritters in the pan in an even layer. You might have to do this in batches. Cook for two minutes on each side and then let them drain on a plate lined with paper towels.

After letting that oil soak up like a greased pizza you are now ready to serve!

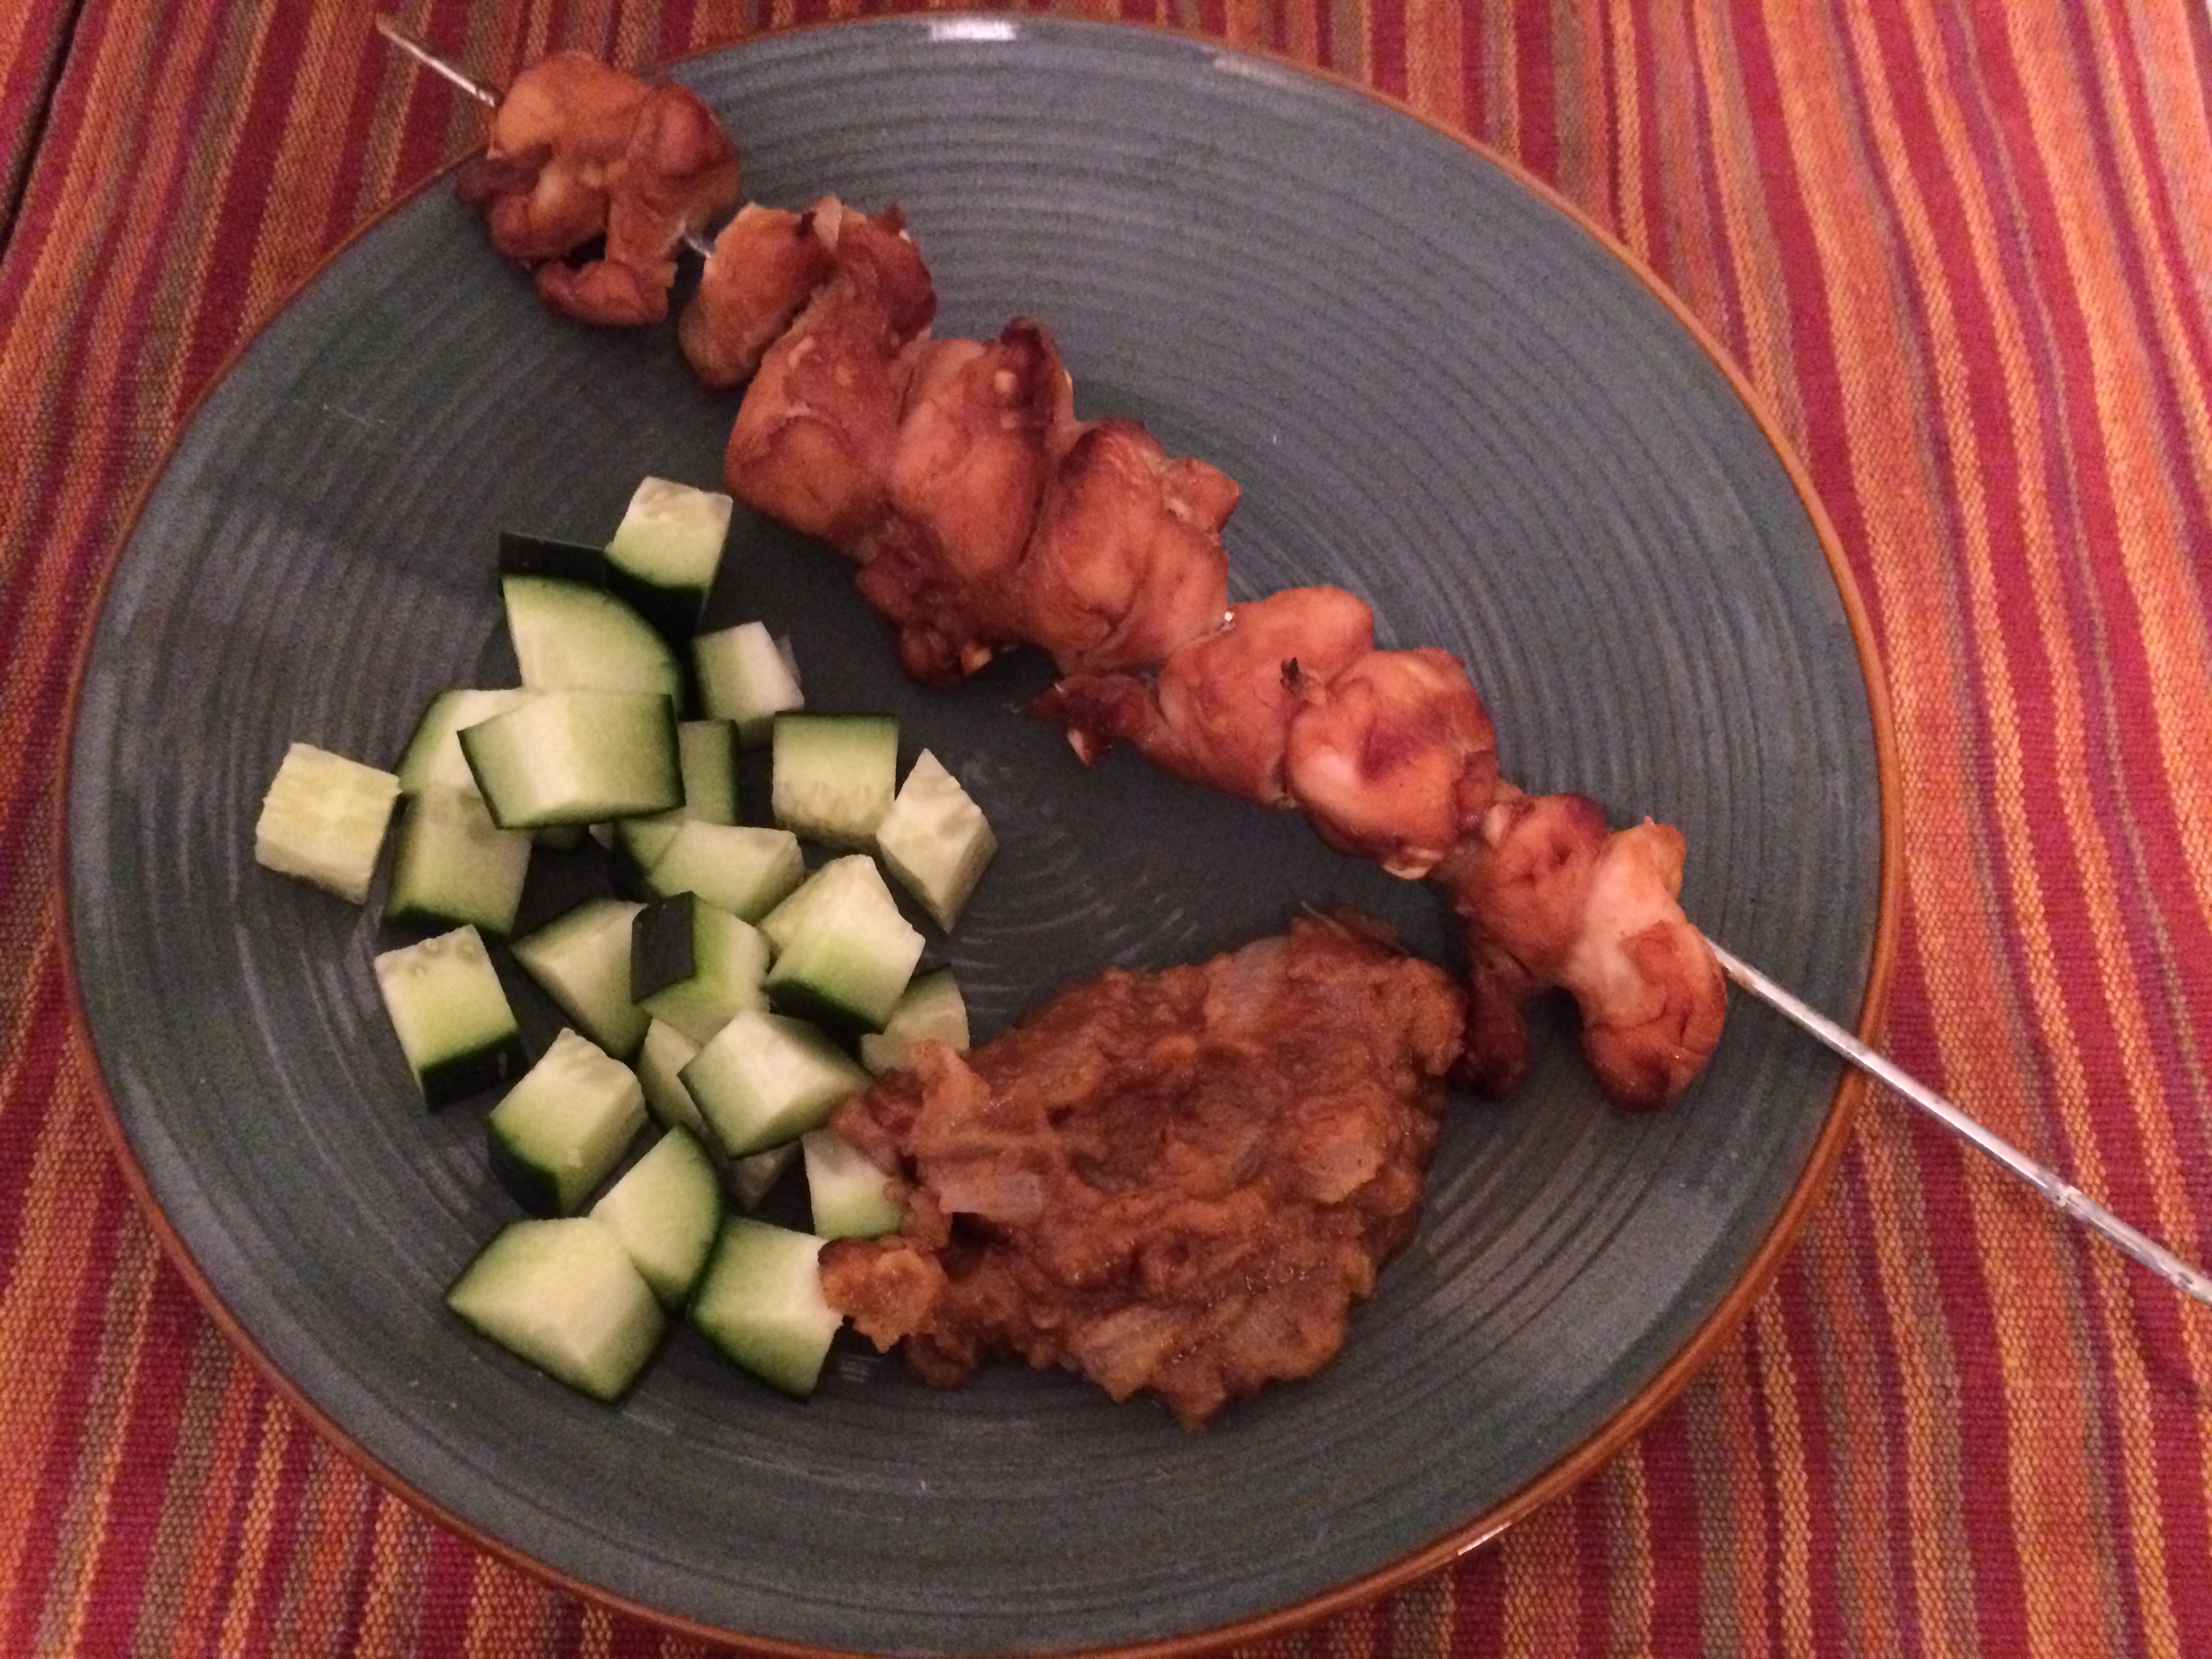
Plate and lovingly pour that sauce to consume.

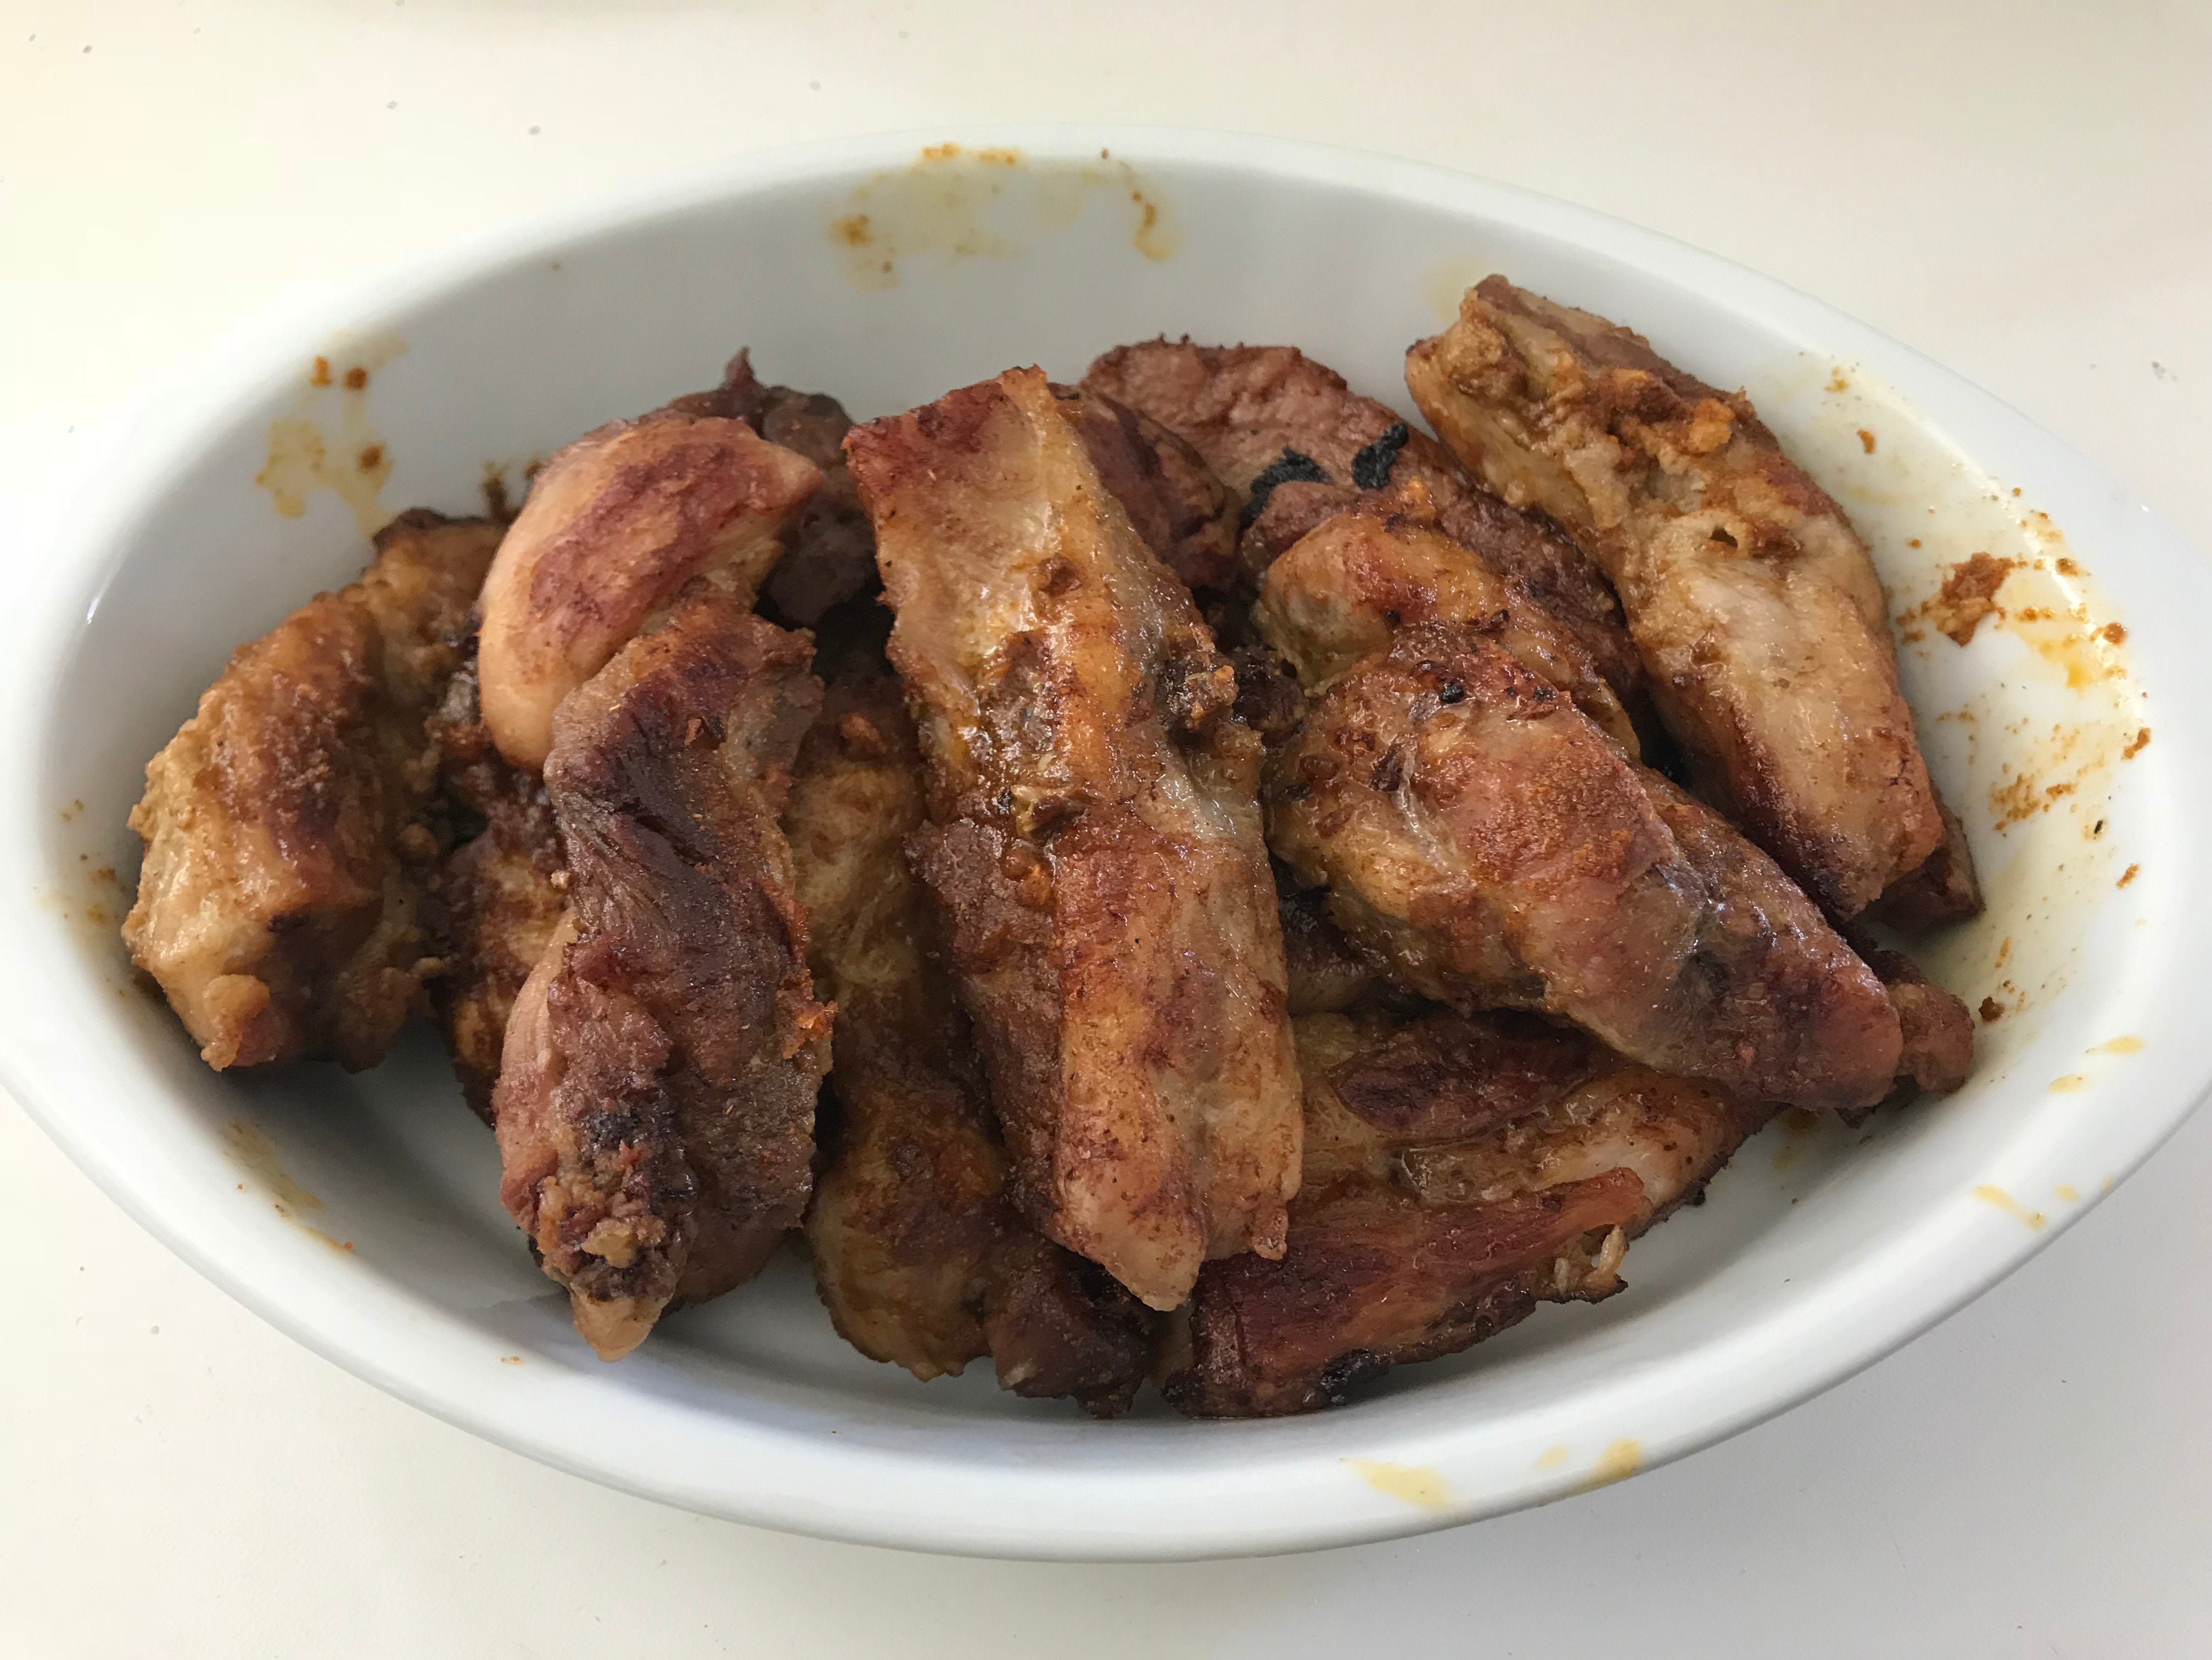
As I said earlier, my patties were a little burnt, but they tasted great. That being said I’m not a big crab and pork fan so probably won’t make this again even though it turned out well.

My favorite part of the recipe was the sauce and that’s what dials up the patty from being meh to good. My boyfriend and I discovered that the leftover sauce also makes a great dip for tortilla chips and meatballs that you can make with your leftover pork meat.

If you choose to make this an entree like I did, it pairs well with a side of diced baked potatoes tossed in garlic. I also made an avocado and tomato salad. When in doubt avocados and tomatoes are always a safe bet though.

L.A. Hotdog Burger

One fine afternoon, my co-workers and I found ourselves discussing our favorite type of hot dog toppings.

Our tastes ranged from just ketchup to the works. The works being onions, peppers, relish, ketchup, mustard…you name it.

Then I started thinking about how each major U.S. city has their “hot dog” style.

I’ve sampled the Chicago dog. I’ve heard of a New York dog and yet, I’m not certain what the official Los Angeles dog is. The City of Angels is also uncertain as this honor has not been officially declared.

So who are the contenders for this revered prize?

The most famous proprietors of hot dog eateries is Pinks and everyone knows of the Dodger Dog, but every late night concert goer and drunken misfit also knows of the hot dog vendors of the night that line the boulevards of Los Angeles.

These hustlers set up in droves at every major event ready to tempt you with the savory sound of bacon and the soft tantalizing scents of sausage and grease that pulls you in like a tractor beam.

Many Angelenos believe these bacon wrapped hot dogs are the true blessed processed meat of Los Angeles and so I couldn’t help but think of our unofficial LA dog when I was preparing this bacon wrapped burger from I Love Spice. Was it inspired from our beloved dog? We shall see.

What you’ll need

  • 8 oz sweet potatoes cut into chunks
  • 1 pound of ground pork
  • 1 Granny Smith apple peeled, cored, and grated
  • 2 tablespoons of Cajun seasoning
  • 4 onions
  • 1 tablespoon of chopped fresh cilantro
  • 2 tablespoons of corn oil
  • 8-12 lean bacon slices

The first step is to boil some lightly salted water and then plop your sweet potatoes in there for 15-20 minutes. We want to cook these puppies until they’ve softened to the point you can pierce it with a fork.

Once cooked, drain the water and then mash the potatoes. When the potatoes have been mashed mix it with the pork, apple, and Cajun seasoning. Then grate one onion and add that to the mixture along with cilantro and salt and pepper.

Mix everything together and then start to create your burger patties. We want to end up with 4-6 patties of equal size. Throw the patties in the fridge to chill for about an hour and to let the ingredients marinate.

When the hour is up, go ahead and pre-heat the oven to your broiler setting and slice the remaining onions.

Cook the onions in a skillet that has been pre-heated on your stove-top with the oil on low heat for 10-12 minutes. Stir the onions occasionally and cook until they are soft.

We are finally ready to cook the burgers. Do so by wrapping each patty with two slices of bacon and then brushing it with the remaining oil. Cook for 4-5 minutes on each side and then serve with your fried onions like so….

Bacon wrapped burger with pretzel bun

What is the verdict my friends? Is it like the LA Dog or is was it formed and blessed by some other entity?

My verdict is somewhat yes and somewhat no. You can tell this burger is made of pork and not beef. It does feel like you’re eating a hot dog and that bacon wrap combo does make me feel like I’m clogging an artery with each bite.

The key ingredient that doesn’t quite make it an LA Dog is the sweet potato mixed in there. While that is delicious it certainly isn’t how our beloved late night dogs taste.

All in all I’d say it’s a nice tribute and it was tasty, but I think if I’m going to harm my body with grease, I’ll just stick to a bacon wrapped hot dog and not the burger.

Vlad’s Kebabs

Dearest readers, how have I missed thee.

Apologies for the hiatus. I was too busy to cook the last few weeks, which meant I couldn’t write about cooking.

Our time apart has been well spent, though I did miss all of you. In case you’re curious what kept me, well I was performing in a little play called Othello and I’ve been taking a stand-up comedy class so expect classier jokes in the near future.

My pesky day job is also a thing that keeps me away, but that’s not fun to talk about so I’d rather move on to my next recipe which is chorizo and mushroom kebabs from I Love Spice.

What you’ll need

  • 2 tablespoons of olive oil
  • 24 slices of chorizo, each about a half inch thick
  • 24 button mushrooms
  • 1 green bell pepper, roasted, peeled, and cut into 24 squares

Kebabs are the best aren’t they? They don’t require a lot of skill. You just grill some stuff and then stab it with a stake.

I dare say this had to be Vlad the Impaler’s favorite meal to cook.

I must caution you readers, however, that when it comes to chorizo we can’t be all Vlad the Impaler about it. We have to choose wisely and pick the right chorizo. Not every chorizo can be impaled. Mexican chorizo, for example is usually grounded and crumbly which means it is unable to be staked.

q0kkhhia_400x400

Sorry Vlad, you just can’t impale Mexican chorizo

What we want to buy is Spanish chorizo which usually comes cured and dried aka a solid form of sausage.

My neighborhood Vons did not have Spanish chorizo, but they did have longaniza which google has told me is similar to chorizo and even better is in a solid shape that one can hopefully impale.

Now that we got that important info out of the way, the only step that I need to advise you on is roasting your pepper.

I recommend roasting it in an oven with a pan coated in olive oil under 400 for 20 minutes. When the 20 minutes are up, turn the pepper so it can have an even tan and roast for another 20 minutes.

Once this step is over, remove the pepper from the oven and allow it to cool so you can remove the skin and cut it into 24 squares.

While the peppers are cooling you might as well get started on cooking your chorizo. To do so, get a skillet and coat that in olive oil. Heat the skillet under medium heat and then add the chorizo.

Now if you got dried and cured chorizo, you should only need to cook this for 20 seconds, but if you had to substitute like me, you’ll need to cook for a longer amount of time, because 20 seconds is going to give you a health code violation for sure.

Once your meat is cooked throughly, we can add the mushrooms into the skillet. Cook this for 1-2 minutes. You’ll know the mushrooms are ready when they look slightly brown and are glossy just like Vlad after a hard day of impaling people.

Speaking of Vlad, we are now ready for his favorite part! Making the actual kebab!

All you have to do is impale a bell pepper, followed by a mushroom, and then a kebab.

You can use a toothpick to make this more of an appetizer or get your large stake and make it a meal.

The choice is up to you for your enjoyment.

fullsizeoutput_1fa


So as you may have guessed from the professional photo above, I failed. Turns out that longaniza is not easily impaled. It is more solid than Mexican chorizo, but it fell apart when I tried to stab it.

I will say that this combo is tasty one, so if you find the right chorizo do give it a try. Otherwise I recommend making yourself some chorizo and eggs instead of a kebab.


Spareribs with Paprika Sauce

“Hey brother can you spear a rib?”

“Yes I can! Put that rib on a spit, light it up and call it a…Ā  ribbesper/sparerib?”

I was so close to making a catchy song, but the name of the dish just isn’t working. Whether you go with the German origin of ribbesper or our modern sparerib terminology.

I’ll just have to visit this later and figure it out.

Stay tuned on that coming attraction and now enjoy the main attraction provided to you byĀ I Love Spice.

What you’ll need.

  • Spanish olive oil (it’s ok to use regular fyi)
  • 2 lb 12 oz pork spareribs
  • 1/3 cup of dry Spanish Sherry
  • 5 tsp Spanish paprika
  • 2 garlic cloves, crushed
  • 1 tablespoon of dried oregano
  • 2/3 cup of water
  • salt

You may have noticed a Spanish theme in the ingredients. I say ignore that if you already have an equivalent of those ingredients. I do believe regional ingredients differ from the other, but I also know a dish can turn out well even if it’s not a 100% accurate recipe wise. Spoiler alert that I didn’t have all Spanish ingredients and this turned out well.

Our first step is to preheat the oven to 425 and grease a pan big enough for your ribs.

Not your personal ribs, but the ones you bought for this dish. Although, a pan big enough for your personal ribs would work in this case.

The next step is to either cut the ribs into individual ribs or be resourceful like me and buy them cut that way already. I recommended being resourceful unless you’re planning on becoming a professional chef. Even then, though, asking for help from a pro butcher doesn’t seem shameful to me.

After you’ve weighed those decisions down move on and place them in the oven to roast for 20 minutes.

While roasting you can make the sauce by combining sherry, paprika, garlic, oregano, water, and salt together.

When the 20 minutes are up on the ribs, reduce the temperature to good ole 350. As you do so, examine the ribs for fat residue. I’d be surprise if there was none, but you’ll want to pour out that fat residue because we are now ready to coat the ribs with our sauce.

Do make sure to coat each side, but reserve some sauce as well because basting is required in this cooking process.

Roast under 350 for 45 minutes and about halfway through is when you’ll need to baste. Again, don’t use up all your sauce because this will essentially become your bbq sauce as well.

Once the ribs are cooked, the final step is to boil your leftover sauce. Once boiled, reduce the heat to a simmer and allow that to cook until the sauce has been reduced to half. Once reduced pour over the ribs and enjoy!

wiov2cl1rcgpziwkklhq1q.jpg

Realize I could have cleaned the plate up a bit, but ribs are messy and so is life. Deal with it.

This turned out nicely for me! Despite the sauce it came off as almost a dry rub in taste. Which was not a disappointment in the slightest. I am a huge sauce lover when it comes to all foods, but dry rubs are flavorful and give an earthy tasteful coat without taking away from the natural, chewy juiciness of the meat.

As I mentioned it turned out well despite the fact I didn’t use all Spanish ingredients, but I’d like to make this again with all things Spanish to see if it’s even better that way.

I’m sure it’ll be enjoyable as well and hope those of you reading this try this out!


Historically Accurate Beef Fajitas

These beef fajitas come fromĀ I Love Spice and are actually called Classic Beef Fajitas, but doesn’t the word classic really just mean from the past?

So I decided to name it historically accurate, but it might not actually be historically accurate come to think of it. I mean I don’t know if this is an authentic recipe. However, it is a recipe from the past that millions of people enjoyed and that’s historically accurate.

At least here in the Americas this is the case.

I think now is a good time to say,

ā€œRachel assumes no responsibility or liability for any errors or omissions in the content of this site. The information contained in this site is provided on an ā€œas isā€ basis with no guarantees of completeness, accuracy, usefulness or timelinessā€¦ā€

Just covering my bases…

What you’ll need:

For the fajitas

  • Ā 1 pound of beef skirt steak, cut into strips
  • 6 garlic cloves, chopped
  • juice of 1 lime
  • large pinch of mild chili powder
  • large pinch of paprika
  • large pinch of ground cumin
  • 1-2 tablespoons of olive oil
  • 12 flour tortillas
  • 1 tablespoon of vegetable oil
  • 1-2 avocados, pitted, chopped, and tossed in lime juice
  • 1/2 cup of sour cream

For the pico de gallo salsa

  • 8 ripe tomatoes, diced
  • 3 scallions, sliced
  • 1-2 fresh green chilies, such as jalapeno or serrano, seeded and chopped
  • 3-4 tablespoons of chopped fresh cilantro
  • 5-8 radishes, diced
  • ground cumin

The first step is to combine the beef with the garlic, lime juice, chili powder, paprika, cumin, and olive oil. Add salt and pepper to your standards, mix, and marinate for a minimum of 30 minutes outside the fridge or overnight in the fridge.

While this is happening, make the salsa by combining the tomatoes, scallions, chilies, cilantro, and radishes in a bowl. Then season with cumin, slat, and pepper.

The cookbook now recommends you warm the tortillas in a skillet and then wrap them in foil to keep warm while you continue to cook.

I recommend you make everyone warm their own tortilla in the skillet right before they eat. It doesn’t take that long and it’s guaranteed tortilla warmth.

Once the meat has been marinated to your liking, you can prepare to cook it by heating vegetable oil in a large skillet over high heat. Stir fry the meat in this pan until browned and slightly tender.

You areĀ  now ready to create your historically accurate and classic fajita masterpiece!

Do this by heating that tortilla, scooping in the meat, and topping with salsa, avocado, and sour cream.

Please note, that my fajita was not historically accurate because I left out the sour cream. I know it’s terrible, but forgive me history snobs.

IMG_0188

Not historically accurate, but good.

If you chose to be historically accurate or not, like all classics it goes without saying that this is an easy, satisfying meal that the whole family can enjoy.

Hamburger of the Chilies

My next recipe comes fromĀ I Love Spice, which if you don’t know, I do love spice. I want to marry spice, but I also love cheese and it’s been a real struggle figuring out who I want to settle down with.

Spice can be intense sometimes, but I like the intensity and cheese is nice and comforting, but sometimes I get bored with cheese because all we do is lay around and talk about how much we like pizza.

For this recipe I did manage to get spice and cheese together. So maybe we can all work things out and move to Utah or start a commune somewhere. I have faith in our relationships.

What you’ll need

  • 1 lb 7 oz/650 grams of ground beef
  • 1 red bell pepper, seeded and finely chopped
  • 1 garlic clove, finely chopped
  • 2 small fresh red chilies, seeded, and finely chopped
  • 1 tablespoon of chopped fresh basil, plus extra sprigs for garnish
  • 1/2 teaspoon of cumin
  • salt and pepper
  • hamburger buns, of course, unless you’re gluten-free, then maybe not.

The first step is to make your burger patties by combining all the ingredients except the salt, pepper, and the hamburger buns. That would be awkward.

Mix those ingredients so that they are dispersed in the meat evenly and then season with salt and pepper.

The next step is to form burger patties and you do this by invoking your child hood self’s love of play-dough. Don’t get too carried away though.

athf_ep010_07

You can’t compete with Meatwad anyway

Instead of Abraham Lincoln, you should be making four roundish patties, like so.

IMG_2031

Once you’ve formed your patties, pre-heat a broiler or grill and then cook those puppies for 5-8 minutes on each side or until they have reached the level of doneness you prefer.

Once they are cooked to your liking, you can garnish with basil sprigs and serve on your hamburger bun with all the fixings you like.

You can also add cheese, which I did. I added pepperjack, because obviously it’s my two loves together and why wouldn’t I?

My final result turned out well. I feel like it’s hard to mess up a burger patty. As long as you don’t over or undercook it, it should turn out well.

I loved the kick of the spices and it was juicy and delicious. So, if you love spice or want to try something new for your Labor Day Cookout, go ahead and give this guy a try. You won’t be disappointed.


Chicken Satay Up Yours, Another Meal Involving Sticks Up Things

I haven’t been following up on the Chinese New Year folks. What is it the year of again? Oh yeah, it’s the year of the Monkey.

Well for my American New Year, so far, it has been the year of the kebab.

If you read my last entry, than you’re probably obsessed with me or hate me, which isn’t mutually exclusive. There’s a fine line between love and hate. There is also a fine fine line between a lover and a friend. Most of Los Angeles struggles with this.

What was the point I was I trying to make before I had to make another point? Oh yeah! If you read my last post, I made a shrimp skewer dish. Well this time, I’m making a Chicken skewer dish with peanut sauce fromĀ I Love Spice.

What you’ll need.

  • 4 skinless, boneless chicken breasts cut into 3/4-inch/2cm cubes (I just got a package that was probably a pound and cut them into some sort of cubes. I mean are you going to measure your meat? No you are not.)
  • 4 tablespoons of soy sauce
  • 1 tablespoon of cornstarch
  • 3 garlic cloves, finely chopped
  • Cucumber cubes, for serving and eating
  • 2 tablespoons of peanut or vegetable oil
  • 1/2 onion, finely chopped
  • 4 tablespoons of crunchy peanut butter
  • 4-5 tablespoons of water
  • 1/2 teaspoon of chili powder

The first step in this recipe is to take the chicken that you probably didn’t measure into 3/4 inch cubes and place it in a shallow dish. Seriously, who measures the cubes of their food? I need Italian grandmother measurements for this! My mind does not work that way. Tell me, one thumbs length or something. That makes sense to me.

Anyway, in a small bowl you will mix the soy sauce, cornstarch, 2 cloves of garlic, and ginger. When this is properly mixed, you will pour it over the chicken, cover, and marinate for at least two hours. Marinate in a fridge too because no one wants e coli unless they are under a voodoo spell.

This next step was not necessary for me, because I have metal skewers. If you have wooden ones, though, then you want to soak them in cold water for a half hour.

When you think you’re about ready to cook your chicken, preheat the oven to 375 and place your chicken cubes on your skewers. Heat a ridged grill pan until hot. (I do not have a ridged grill pan, so I just put some aluminum foil on my oven rack.) Add the skewers to whatever heated surface you use on high heat for 3-4 minutes. Turn them every once in awhile while cooking until they turn brown as well. Once the chicken has browned, put the skewers on a pan and cook in the oven for 5-8 minutes.

While all of this is happening, you can make the peanut sauce. The first step for that is to heat oil in a pan. When the oil is hot, add the onion and the remaining garlic clove over medium heat. Once the onion has softened you will add he peanut butter, water, and chili powder. Simmer this for 2-3 minutes.

When you have completed all of these steps, you are ready to arrange your skewers with the cucumber and sauce!

I was pleased with this recipe. It’s not difficult and you can get away with not having any kind of grill pan.

The marinating is what sells this recipe. I’m not a huge fan of soy sauce, but when it comes to marinating meat in it, I’m all in. Soy sauce makes the chicken juicy and tender, as well as adding a bit of a salty taste. Pair that in garlic and you are in instant heaven!

The peanut sauce was tasty as well, but I didn’t love it enough to need it.

If I were to make it again, I think I’d just add some rice and make a feta cucumber salad. Basically I would turn this dish into a Thai Greek child. I just want to make Greece great again and free Thailand. Two birds, one stone people.

IMG_1760

Chicken, cucumber, and peanut sauce


Spicy Chicken Wings

This recipe is fairly self explanatory and comes fromĀ I Love Spice. It’s another easy recipe thatĀ mostly requires waiting.

I have no good tie-ins today except that the waiting part is the marinating part. Marinating makes me think of how a friend of mine posted on social media recently that he just discovered a pack of hot dogs in his backpack. Apparently they had been there for a few days. I told him it was ok, that he was just marinating them. I’m not sure what he’s got in his backpack, but I bet there’s something in there that would give those hotdogs a nice kick.

Thankfully I marinated my chicken wings in the fridge and it was only overnight.

So what you’ll need is 2 lbs of chicken wings, 11 garlic cloves, finely chopped, juice from 2 limes, juice from 1 orange, 2 tbsp of tequila, 1 tbsp of mild chili powder, 2 dried chipotle chilies that have been soaked in hot water for 15 minutes, drained, and pureed, 2 tbsp of vegetable oil, 1 tsp of sugar, 1/4 tsp of allspice, and pinches of cinnamon, cumin, and oregano.

My first note on this recipe is that if you can’t find dried chipotle chilies, it’s ok to just use the ones that come in cans along with red sauce. It won’t ruin the recipe. I have trouble finding dried chipotle for some reason and have given up the good fight. I’m guessing I should go to a Latin market of some kind, but I felt like for this recipe it wasn’t necessary.

Anyway, what you’re going to do is get a non metallic dish that can hold your chicken and all of these ingredients. Put everything in it, mix it around a bit, cover, and put in the fridge for at least three hours.

Once those three hours are up, you grill the chicken wings. If you don’t own a grill, like myself, you can set your oven to the broil setting. Once it’s heated up, place your chicken wings inside for 15-20 minutes. Be sure to flip the wings halfway through the cooking time as well.

The final result was a success for me. My wings were crisp and juicy. I didn’t think they were spicy, but I have a very high spice threshold so they very well could be for most people.

What I liked best about the taste is the subtle flavor of orange. It’s not overpowering at all, but you can still taste it. It gives the chicken a crisp and light flavor that pairs well with the garlic.

Speaking of pairing, I paired my chicken wings with some leftover friend rice I had made, but feel free to add whatever you wish. Green beans, corn, and mashed potatoes are all staples of barbecue items where I come from.

IMG_1448

Kinda spicy chicken wings

Bread of Corn with Jalapenos

My next recipe is fromĀ I love Spice. I lightly complained in my past posts, that so far, this book was not spicy enough for me. However, this cornbread did deliver. Jalapenos always deliver though. I love them so much.

I have to note that I need to be careful about expressing my love of peppers. Apparently pepper is used as a slang in Mexico for male genitalia, more specifically small genitalia. I’ve always been a size isn’t as important, it’s how you use it kind of gal and I can’t say I don’t love peppers. I just don’t want to go around proclaiming it. Also, big peppers are not always as fun and spicy as they look. In my opinion.

So what you’ll need for this spicy cornbread is, 1 cup of cornmeal, 1/2 cup of all-purpose flour, 3 tsp baking powder, 1 small finely chopped onion, 1-2 finely chopped jalapenos (you know I used two), 4 tbsp vegetable oil, 4 1/2 ounces of canned creamed corn, 1 cup of sour cream, and 2 beaten eggs.

As always with baking, the first step is pre-heat your oven. For this dish, that will be 350.

The next step is to mix your cornmeal, flour, and baking powder in an appropriately sized bowl. Then mix the onion and jalapenos with it.

Once you’ve accomplished that, heat oil in a large skillet. Be sure to coat the whole skillet too. While the skillet is heating up, make a well in the center of your mixing bowl. If you don’t know what that means, basically you are pushing the flour off to the side to create an open space in the middle of the bowl. In that middle, make well water with the corn, sour cream, eggs, and finally the oil, once it’s heated up. Stir the whole mixture lightly and then pour the mix into your skillet.

IMG_1227

Flour mixture before it’s been baked

The final step is to bake for 35-40 minutes. Yes, you bake it in the skillet. Make sure your skillet doesn’t have anything that will melt, like a plastic handle. Mine was all metal, but I put aluminum foil on my handle anyway. I’ve read somewhere that aluminumĀ helps keep plastic handled skillets from melthing. I’ve never tested this though. If you want to try, I say be careful and skeptical. Cleaning up melted plastic is no bueno.

My corn bread turned out quite well. If you don’t like jalapenos though, I would not recommend this, because it does have a kick. You can taste the jalapeno in there. I personally love that, but not everyone does.

I ended up bringing my cornbread on a trip with some friends. We went to Big Bear Lake in California for Memorial Day. On our way there, we saw a homeless man. This is sadly, a common sightĀ in my neighborhood. One of my friends wanted to give him money, so we stopped the car to give him some. I was holding the corn bread and realized that I could give him food. So I gave him a slice. That man looked so happy. It was truly touching. He looked like a little boy on Christmas Day. As my friend started to drive away, I thought, “Oh crap! What if he freaks out when he eats the jalapeno?!”

So as we were driving off, I yell, “IT HAS JALAPENO!!!!”

If this doesn’t make you laugh. Let me explain. Imagine an SUV driving off into the clear blue skies of Los Angeles and picture a delighted homeless man with a slice of cornbread. Just as he’s about to take a bite, see a blonde haired girl stick her head out of the truck window, screeching loudly that it has jalapeno. Trust me, it was a classic Rachel moment.

My friends laughed right away and teased me mercilesslyĀ the rest of the trip.

I haven’t seen that man since, which is shame. I’d really like to get a review from him. My friends had some reviews though. They were mostly positive, but for one of them it was just too damn spicy. She would take a bite, a tear would slowly trickle down her face and as she was breathing heavily from the shock of it, she would say, “IT HAS JALAPENOS!”

IMG_1228

Crumbled style

IMG_1235

Memorial day style

Sassy and Spicy Marinated Olives

This recipe comes fromĀ I Love Spice and is another easy and simple recipe to make.

It’s not very labor intensive and most of it is smashing all the ingredients into a mason jar and letting it marinate for a week or two. For this recipe, I had to use two mason jars, so I do recommend reducing the ingredients in half.

The ingredients you’ll need are four garlic cloves, a lemon, 2 tsp of crushed coriander, 1 pound of large green olives, 4 fresh thyme sprigs, 4 fennel stalks, 2 small red chilies, and olive oil.

As far as labor goes, all you do is crush the garlic cloves with the flat side of a knife, cut the lemon into small chunks, and dice the chilies. For the chilies, I used jalapenos, but feel free to use whatever spice you like.

I have to make a note that the fennel I bought was pricey so make sure you have a use for your fennel beyond this recipe too. I plan on stir-frying mine with some eggplant. Stir-frying is one of the best way to use up old ingredients I have to say.

The only other step in making this is to add olive oil until your olives are covered. It has been a week since I made this and I did try them today. The olive oil got a little thick looking, but don’t let that scare you. It still tastes delicious. Re-reading the recipe book for my post made me realize I was supposed to let it get to room temperature before draining the oil and such, but I mean it was fine. I’m guessing that might help with the texture and look of the oil.

Overall I thought this was a good recipe and even though it doesn’t take a whole lot of time to make, I don’t know if it’s worth making again. The price of the fennel is what sways my opinion. Plus, there are olive bars all over nowadays so I feel like you could just buy olives like this for a fair price and then you don’t have to worry about using up your fennel.

IMG_1047

Locked up olives

FullSizeRender

Emancipated olives